

Updates at the bottom of this post.
I’m an old git, with bad legs. Tech has a place. Another electric bike, after the epiphany I had with my first? A no brainer! After many months of research, I eventually pulled the trigger.
I ordered a Bali from Woosh, in June 2016. I nearly ordered a Krieger, but Hatti (your first contact at Woosh, normally) pointed out that the Bali is bigger, and more suited to my lard ass (no, she didn’t actually say that…). It’s recommended for people over 5’8″, but I’ve found that my 31″ inside leg to be a better measurement. The supplied seatpost is just around an inch too short for me, so I ditched it for a longer (unsprung) one, and it’s just right. I’d suggest this bike as is, is better suited for people with a 30″ inside leg, max. I break scales at around 93kg.
The parcel turned up, and off we go!


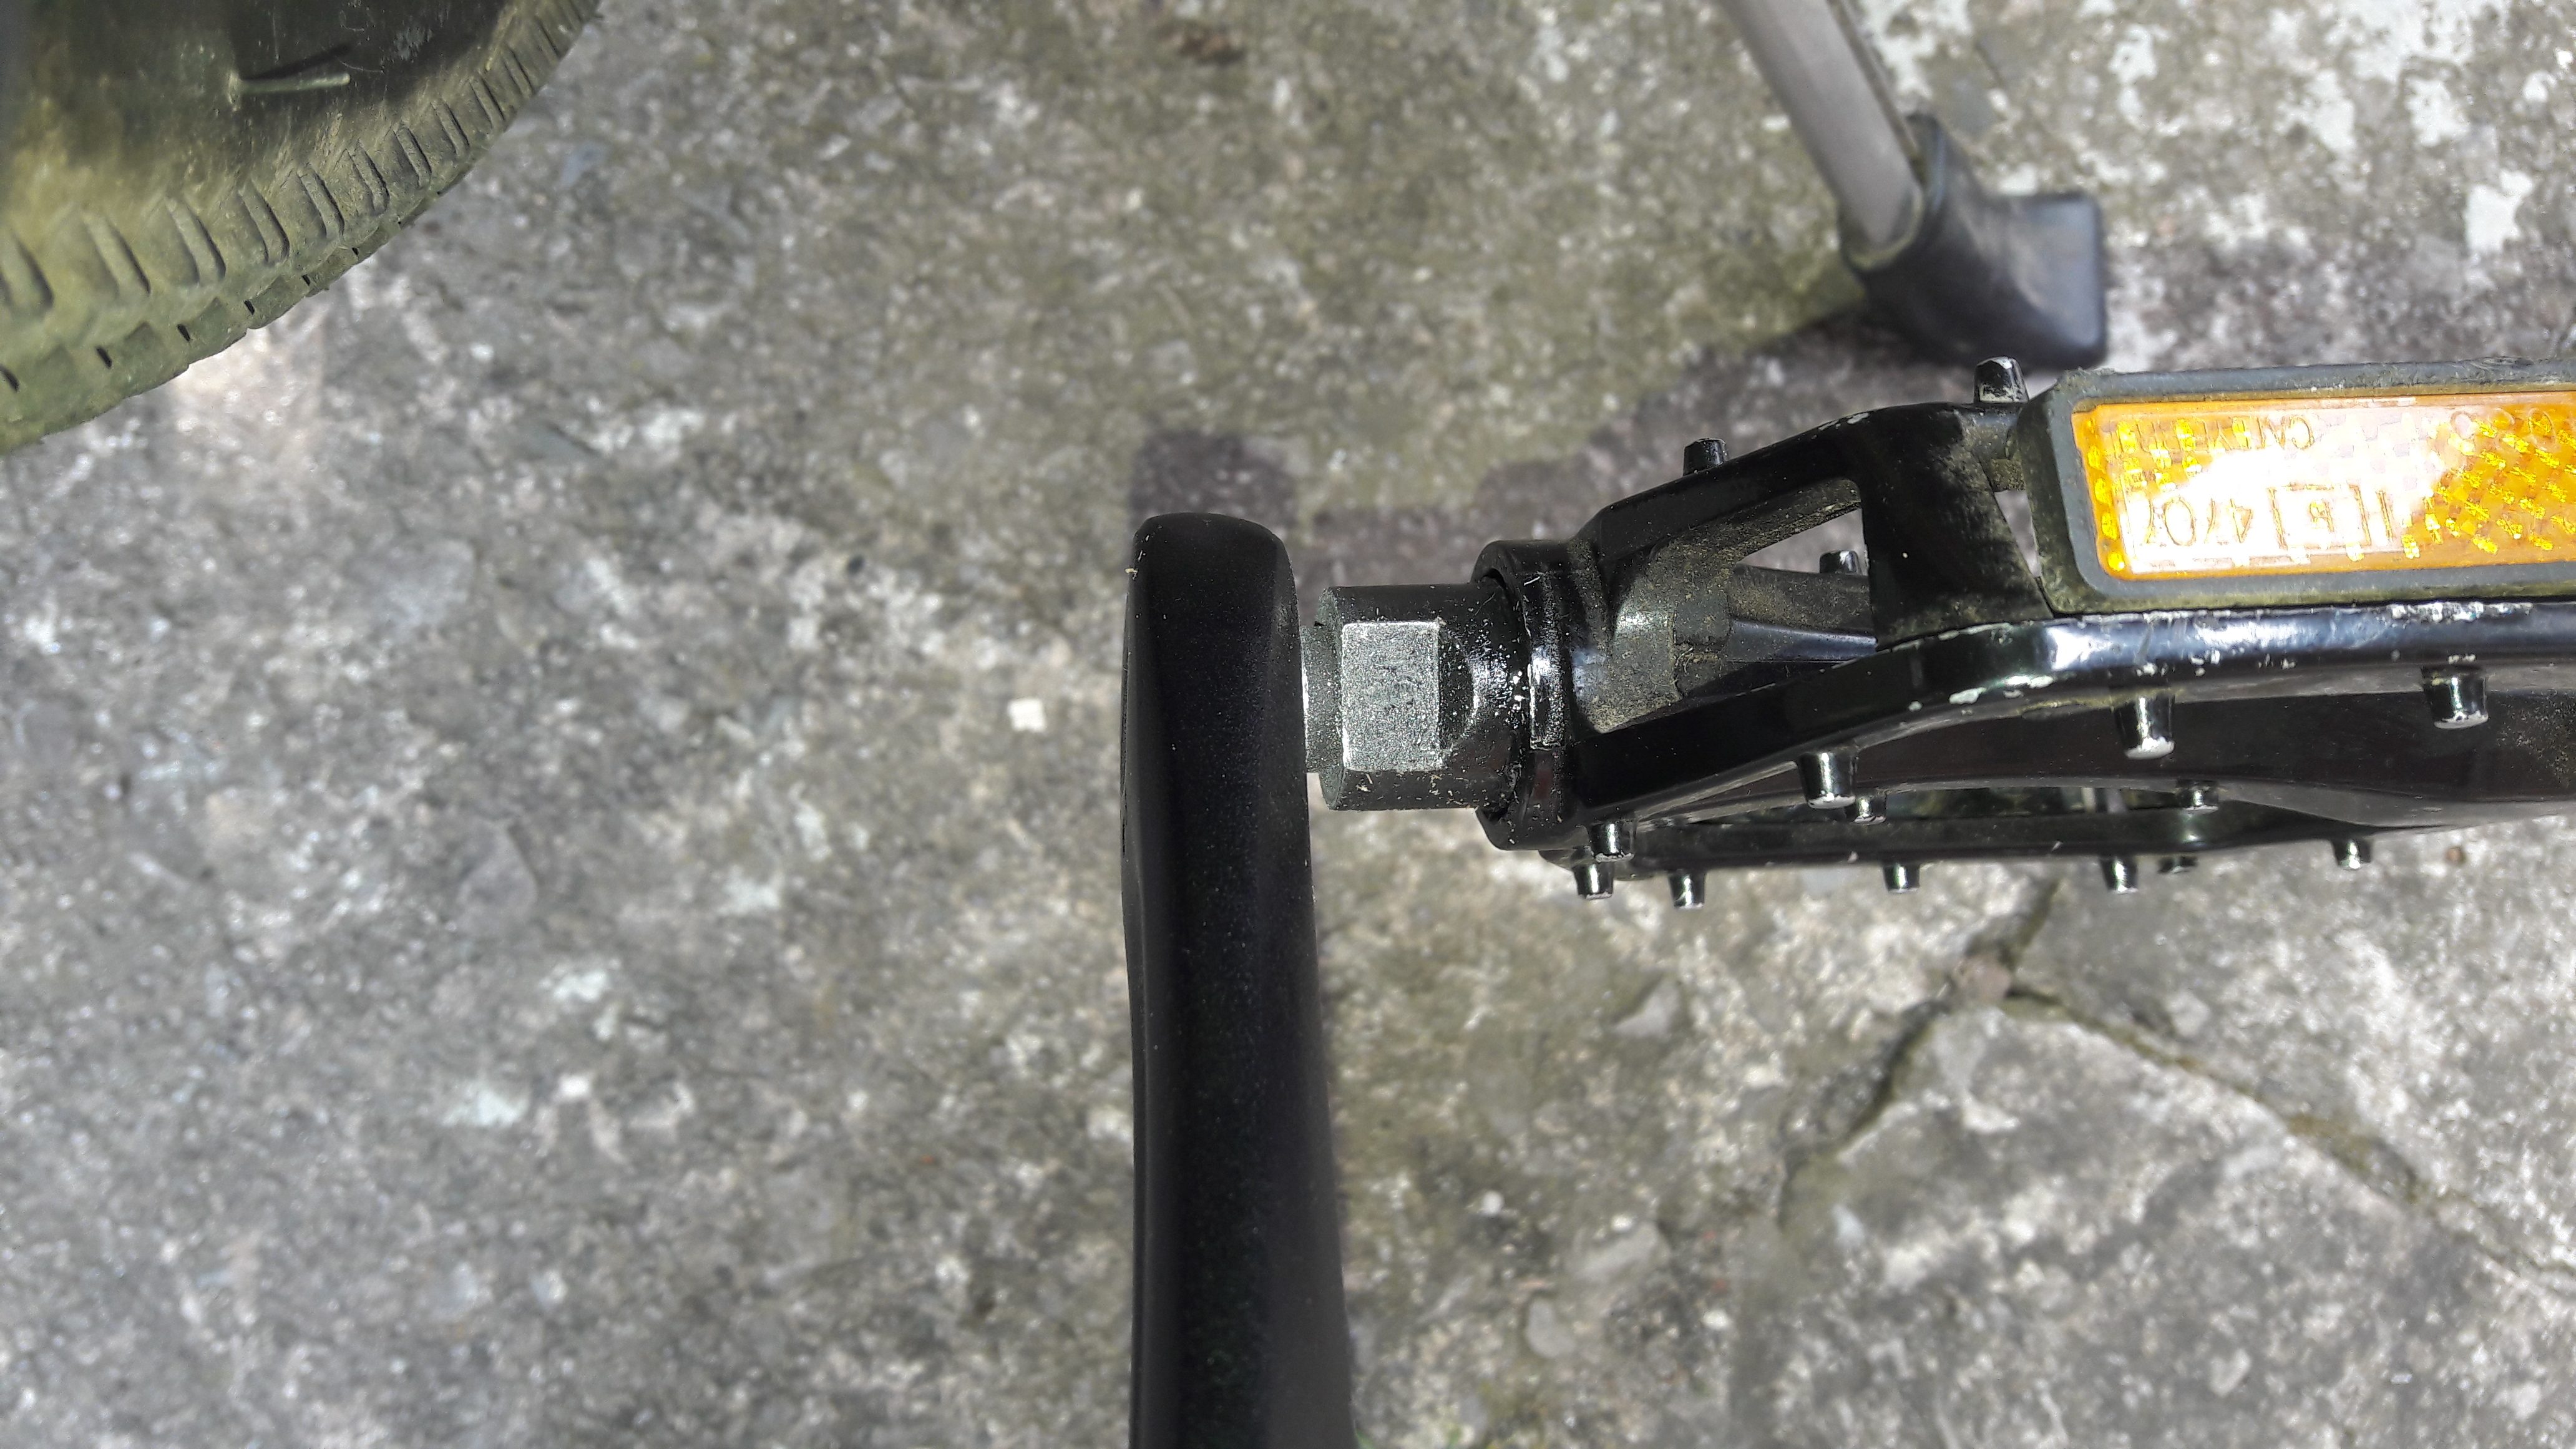
The handlebar stem
It arrived setup too loose, only needing the allen bolt tightening, no biggie. A huge amount of adjustment is available.
Gears.
The 8-speed Acera 11T-34T were setup perfectly, and are nice to use.
Sounds.
What’s this wire for..? Ahh! The ‘bell’. No, it’s someone’s idea of a bell…
Yes, there are multiple sounds available, but it got immediately retired to the spares bin. Because I’m more than 4 years old.
It’s recommended that you keep the box for a while, as if there’s any problem with the bike, you pack it up, and send it back to Woosh. It’s a big box!
500+ miles later…
Well, it’s stood up to all I have thrown at it. It’s comfy, seems more powerful (for a 250W motor) than it actually is, because the motor drives the gears. I live mostly on the flat, but the occasional hill does get in the way. Sometimes, quite a steep one, yet this machine takes it well. Just be in the correct gear, before you hit the hill. I’ve yet to encounter one that it couldn’t get me up with aplomb. The nice, shiny allen bolts that are all over, are steel. So they get rusty. Change them for stainless for the sake of a few quid.
Gear changing.
The technique to change gears is easy for those who have ridden motorbikes, it’s effectively a ‘racing’ gear change, just a quick blip of one of the brake levers (I use the back brake, just like a motorbike clutch). It does take some getting used to, and I would argue against this machine for those who want a simple pedal and go bike a hub drive might be better. For a newbie, the gear changes might be ‘hard’, if you’re not careful (I had quite a few ‘hard’ changes until I got used to it, and nothing broke), but it is a technique that is easily learned, & the benefits far outweigh the effort of learning, it’s a much better machine than my last hubbie.
The controller
The controller has a built-in delay, that makes gear changing so much better. There’s no need for any kind of electronic cutout to allow you to change, the controller delays the power take-up by a second or two, with a blip of cutout using the brakes, just enough to help. Nice.
My only bugbear is the trip meter resets itself every time you turn it off. I would prefer a manual reset.
The illuminated controller is just right, without dazzling at night. It has three levels of brightness, I’m currently using the lowest, number 1.
There is a walking mode on the controller, press & hold the bottom button. It then kicks in at 2/3 mph, just right to help you get up those steps.
The motor.
Is quiet. All five assistance levels are useful, and positive. The throttle uses full power override, so if you’re using pedalec on 1 (very little assist), then suddenly find you need to get out of the way, the throttle will power you out of trouble. Very nice.
I initially thought that the position of the motor might reduce my ground clearance too much, but so far, not the case. I have never had to change my riding line to allow for it.
The nice thing about a CD motor, is that you can pop the wheels out in case of an issue, without having to disconnect any wires, in this respect, it’s just like an ordinary bike, which is one of the reasons I went for this form factor. The only downside is that if your chain breaks, you’re stuffed! Take a chain splitter with you at all times, & a split link. Sorted!
And did I mention how quiet the motor is? Just checking.
The battery.
I opted for the 15Ah battery pack. It’s mounted using two bolts onto the bottle carrier holes on the downtube, unfortunately this leads to a certain level of flexibility. The battery could do with a couple of brackets to hold it more solidly in position (see #8 & #9), but thus far, no problems. I made a couple, & that cured that (available, if needed).
There is no USB port on this battery, which I was disappointed about. I suppose that’s just another hole that’s not going to let water in. Plus, I would undoubtedly be putting wires all over the shop if it did have one… (errr… see update at the bottom of this post…).
The wheels & tyres
Are brilliant. Although an odd size (to me – 650B), the extra volume helps tremendously with bumpy ground. The puncture resistant Kenda tyres.. well I need to shut up, don’t I? OK, nothing so far!
Now I’ve done it! ![]()
Lots of grip @ 35psi off road, and much reduced resistance at 50psi for tarmac. I actually tend just to leave them at around 35-40psi.
The Power Circle wheels look sturdy, and I’ve had no issues with them thus far.
Brakes.
Front is an Avid cable disc, rear are V brakes. Both work well. I have a bit of slack on my back brakes, so my using it as a clutch doesn’t prematurely wear the things out. They can still lock the wheel, though.
Lights.
Are really good, and are self powered by dry cells. The headlight gives enough to actually see by! The rear is a sci-fi type of affair, it doesn’t have a flashing mode, just on/off. It’s bright, and I think funky.

The stand.
Works well, it’s at exactly the correct position, even with a weeks worth of shopping in my panniers. The tube it’s bolted to is elliptical in section, which is why it doesn’t rotate.
The carrier.
Is well designed, albeit just another ordinary PRC affair.
To be honest, the whole machine is made in the PRC, but Woosh have carefully figured out what works well, and this machine really does work well!
Riding.
Riding along the towpath, I don’t generally use the motor much (set on assist #2) as I tend to pedal faster than the motor (it’s a 5mph limit on the towpath). It rides really easily, given the weight of the machine, me & my panniers stuffed full of tools. Running out of battery (I’ve not done that, yet) wouldn’t be any kind of problem. I have no doubt that the ranges stated are pretty much correct.
On tarmac, I go full out, everything at max. There is very little ‘hunting’ by the motor, which is so quiet, almost silent.
I now am happy to cycle the three miles to a favourite town to buy a pint of milk, and to socialise on the way back. There’s no blue flashing lights on the towpath!
Security.
Fitting a Dutch style lock (I used an Axa Solid Plus) to the back wheel will present some difficulty, as a brake cable lug is in the way (#11). Some thought will be needed, I made a couple of brackets up to do the job. It works well, & every time I leave it, even on my own property, I use it, as good practice. It works well.
Tools.
It comes with a nice set of tools, enough to assemble it, set it up, and see you on your first travels. With it being electric, carrying a little more than an average bike might carry doesn’t present any issues, and gives a feeling of security.
Conclusion.
All in all, a really well thought out, good looking machine. I had thought about going up in power, maybe a Golden Motor 500w or even more, but I’m glad I didn’t. I don’t want to cycle more than 15mph, nor do I need any more power for hills.
A superb bit of kit, and great value for money even if it wasn’t in the sub £1k bracket. Which it is! Bonus!
I love my Bali!
800 mile update (Feb 2017):
Leaning on the pedals got me a grinding feel. Hmm. Either pedals, or crank. Started with the easiest, first. The pedals come off easily, with a bit of oomf. Use the correct tool, always. Try to never use a shifter (adjustable – worst thing to do!)
The RHS pedal, although right hand thread to the arm (Sheldon’s article on why, HERE,) has a left hand thread holding the pedal shaft together. The plastic plug pops out, (but you will damage it, it is well in with a groove holding it). Look at the slightly protruding thread to confirm. Mine were still pretty well greased on the outside, but the inner bearings, having been exposed (no seal) to the weather/water, were showing signs of damage. I added a best sized ‘O’ ring to act as a seal. Seems to work…
Ripped them apart, cleaned them, re-packed with good grease, put them back on. Did other maintenance whilst I was on the job, and now all seems good, again.
Will add updates when I feel like.
Just found the King Meter J-LCD manual on the Pedelecs forum, a copy HERE. A brilliant little display.
I’ve added a little something extra… I felt the need for a DC power output. Didn’t see the sense of carrying an extra battery pack for my phone, & my tracker had to be pulled out every month or so for a charge. Dumb. So…
I bought a handlebar bag for a mobile phone. A 60V buck converter, and another buck converter that has four USB outputs. They do all fit quite nicely (see photo). The power comes from the main battery, which thankfully for me, doesn’t have any kind of protection in the way, it’s a direct connection to the pack. So this output can be well over 40V… be warned! Hence the switch! I also put a switch on the charger (lt side), as I noticed the plug would sometimes arc when inserting it for a charge. (Update 2/18: The switch started to fail, so I removed it, relying on a main switch on the main battery itself. Works great, now.)


UPDATE 30/3/2017
Having motor issues, the crank felt wrong, it had a noticeable increase in resistance to pedalling. Soooo… bite the bullet, before the really good weather comes in (plus it’s warranty is up in June)…
Removing the motor.
To put anyone’s mind at ease, taking the motor off was so easy. I was a bit worried that the wires that are routed through the frame might be problematic, but the plugs are first rate (I couldn’t find any other plugs that would have been more appropriate for the job), drag the wires out, unplug, sorted! Re-assembly was easy, too.
MyHermes took three days to get it to Woosh, but it was less than £15, insured to £200, so tough love. Jim at Woosh is currently working on it, as rust seems to be the problem. Hatti is busy at this time of year, so she didn’t keep me in the loop. A mail from me got a quick reply. He’s making sure all is well, & packing it with grease, also having a talk with their supplier about it. Seems like Woosh has a ton of spares on site. Good to know.
So far, I’ve been without a motor for over a week. Frustrating, but Hatti has said she’d return it with Interlink 24hrs. Thanks, Hatti!
Well, she was as good as her word. The motor arrived via DPD (excellent tracking facility).
I opened up the package, and less than an hour later (no rush), I was riding again. Time for beer… sorry, I meant a road test!
I’m glad that my initial thoughts seem to be right, insomuch, if components fall over at a later stage, generic items would be easy (& relatively cheap) to source. An upgraded motor would be easy, if that’s what you want to do. It’s a bit pointless, though, as 250W is plenty for my addled brains on my way back home, off road… at night… after beer… with water right… there…
UPDATE 25/5/2017
854 miles. Riding along WFT??? There’s my left pedal on the floor. Say what, now? After a good study, the only thing I can come up with is that the Chinese assemblers have overtightened the pedals so much, that they damaged the threads in the ally crank arms. My (not insubstantial weight of 90+kgs) was enough to send it over the top to kill it. Photo’s below…


I looked at the right hand pedal, & it was only half in (but well seized – wouldn’t move at all. I had to get brutal with it to recover the pedals). So it looks like partially my fault, as I hadn’t spotted it in time to fix it (maintenance), but who expects that? When it was delivered, I’d checked all nuts ‘n’ bolts, but couldn’t even budge the pedals out of the crank arms, so left them alone “They’re not going anywhere” I thought. Bugger. (Sheldon Brown’s pedal thread article.)
I’m surprised that when I called Woosh, they didn’t send them (two crank arms) under guarantee, but they haven’t arrived, yet, & I haven’t been billed. Yet. Will post updates.
Running scores for bike thus far:
- £979 for bike.
- £15 & around a week off road for motor repair.
- £20 for new chainguard (accident)
- £24 crank arms & 5 days off road (Bank Holiday post)
31/5/2017
Told my mate a Big Bear ls was a decent bike. It was delivered today, & I’ve just got back from hand holding.
There’s an interesting article on why they’re threaded LH & RH on Sheldon Brown’s site.
But. The sun is shining, my crankarms are on, & I’ve no doubt my mate will be calling later, when his battery pack is fully charged…
June 2017
My mate wanted to pull a trailer with his Big Bear LS, but it wouldn’t go on. I made him a bracket to make it work, and it seems to work really well. Hmmm, might have a think on that for myself…


August 2017
Around 900 miles… the pedals got rough. Thought about replacing the bearings (1/8″), but a set of pedals from Wilko’s was £3.50! So they’re on. Feel much better, but wouldn’t expect them to last forever, they’re composite. Ho-hum, time will tell.
Update: 1000 miles!
Amazing, I’d never have thought that just after a year, I’d’ve clocked up so many miles. Admittedly, there’s been lots of pints involved, but also loadsa blue skies & fun. The machine is still behaving well, with no issues at all.
Fault on my LCD display!

A quick mail to Andy, at Woosh got a result. It’s not LU, it’s LV. It’s a warning that the on-board (the display) 2032 button cell in the display is low. Very common for this controller, the only pain with it. Otherwise it works fine. Cannot get the button cell to connect. Damn.
Main Battery mod.
Got sick to death of the battery charging plug arcing everytime I inserted the charging lead, so I fixed it. I’ve put a 10A rocker switch inline with the leads to that socket to kill/make the socket live. Works a treat. I tried a micro switch at 6A (rated), but that switch proved unreliable. There should be no more than 2A going through there, so can’t figure that one. BTW, the pack comes apart easily, nothing to worry about. This ‘HL’ branded pack, internally, looks well made, none of the usual ‘nese rubbish or joints.
So there’s a tip… that charging socket is always live as standard at 36V (could get up to 42V+!). Put a switch on it. It it’s too far gone (the socket), put a better quality one in. When you’re in there, isolate the wires with tape or something. there’s around 540W+ waiting to bite you!
1335 miles
Puncture! First one! Within a quarter mile of homebase. Interestingly, the tyre (Kenda 27.5 x 1.95) fell off the rim just by pushing the bike along… You don’t need tyre levers, the damned thing just falls off when there’s no air in the tube! Bizarre. Threw a new tube in (I always carry one) & was back off in less than 10 minutes, that’s even after beer on a mad hot day. The CD form factor helped tremendously, as did the QD wheel. So easy. I would like the tyre to need levers to get it on & off, but I assume that’s just how things are, these days…
Ahh… when I was a lad, & me feet were in cardboard sandals…
January 2019
Added Shimano BRM 446 front hydraulic brake to existing rotor. Much nicer. Used, Fleabay, around £17. Took all of 20 minutes. Hose needs to be around 1000mm for my bike. Adding this removes the motor cut-out switch. Got mag switches & bluetooth adapter on order…


TTFN!